In the previous article I have discussed about enabling Swagger to the Web API application and tested the Swagger functionality. In this article, I would be discussing about publishing the Web API application to AZURE using Azure Web Deploy.
To publish your application to Azure, you need to have azure credentials ready with you. If you do not have Azure subscription, then it is right time to subscribe for free account.
Please follow along with me on deploying the application to Azure.
Right click on your project and select the Publish option as below:
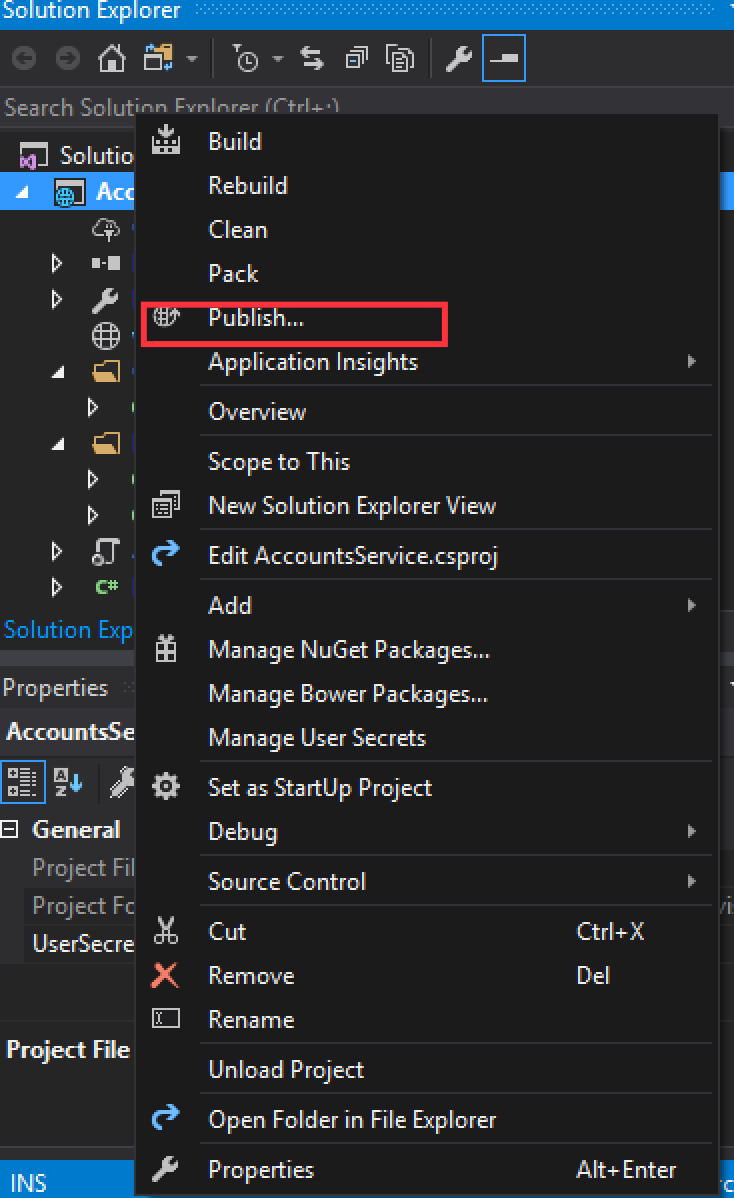
Figure 14 – Publish Project
You should see a window with different options to publish your application like
- Microsoft Azure App Service
- IIS, FTP etc.
- Folder
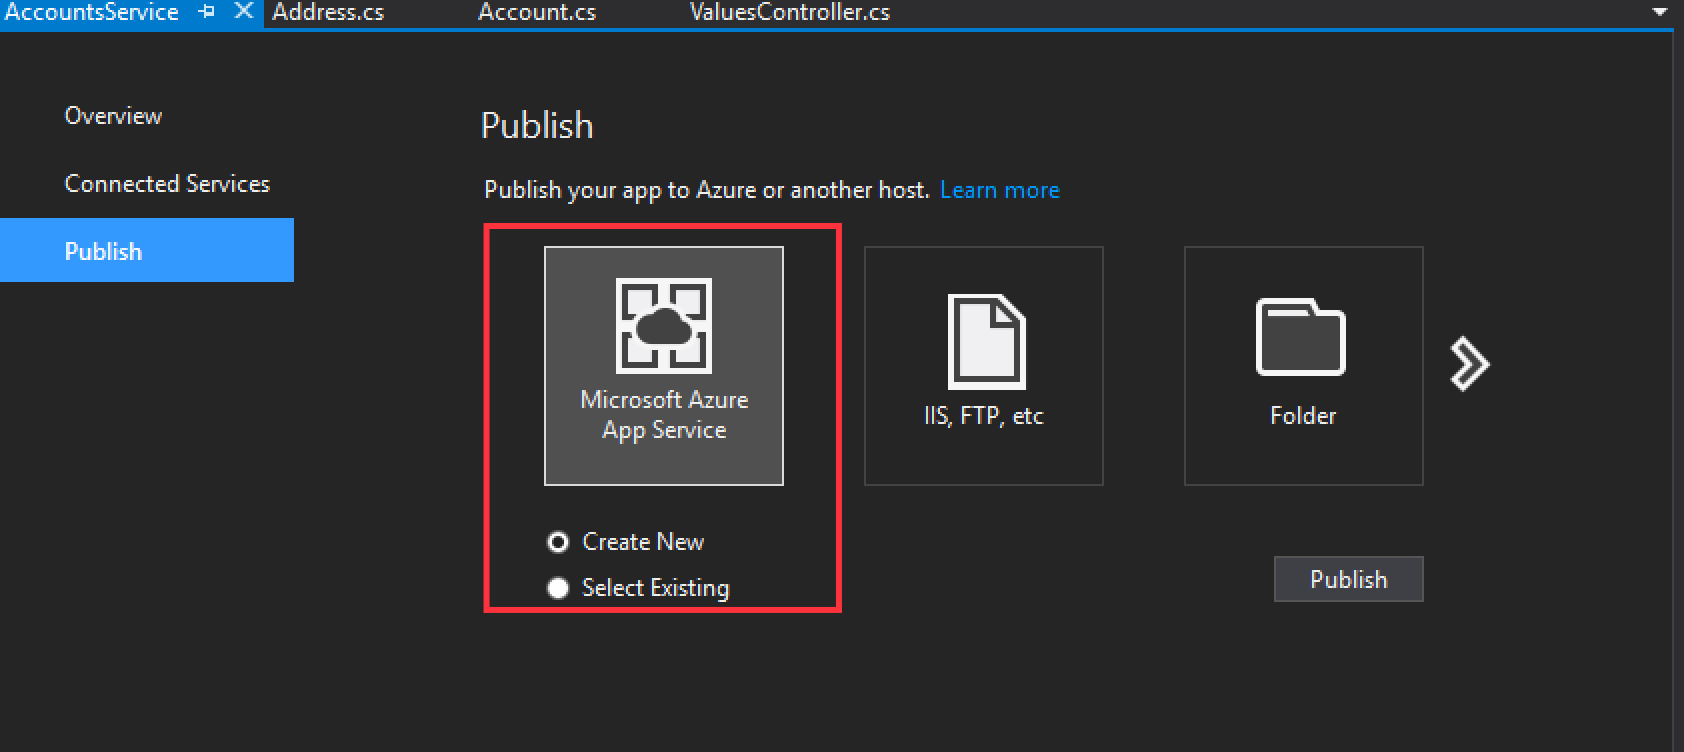
Figure 15 – Publish options
I am going to publish our application in Azure App Service and so I am going to select the option for Microsoft Azure App Service. If you have already created Azure App Service you can re-use that or create new App Service to publish this application.
I am creating new service in this example. So, I have selected “Create New” as highlighted in the above figure 15 and clicked Publish button. Fill out the inputs and select the appropriate subscription and resource groups for publishing the service. I am going to keep the default values selected in my window.
After entering the values and creating a new Resource Group if needed, hit the button Create. Then it will start publishing the application to Azure with all the settings we have selected in the Create window.
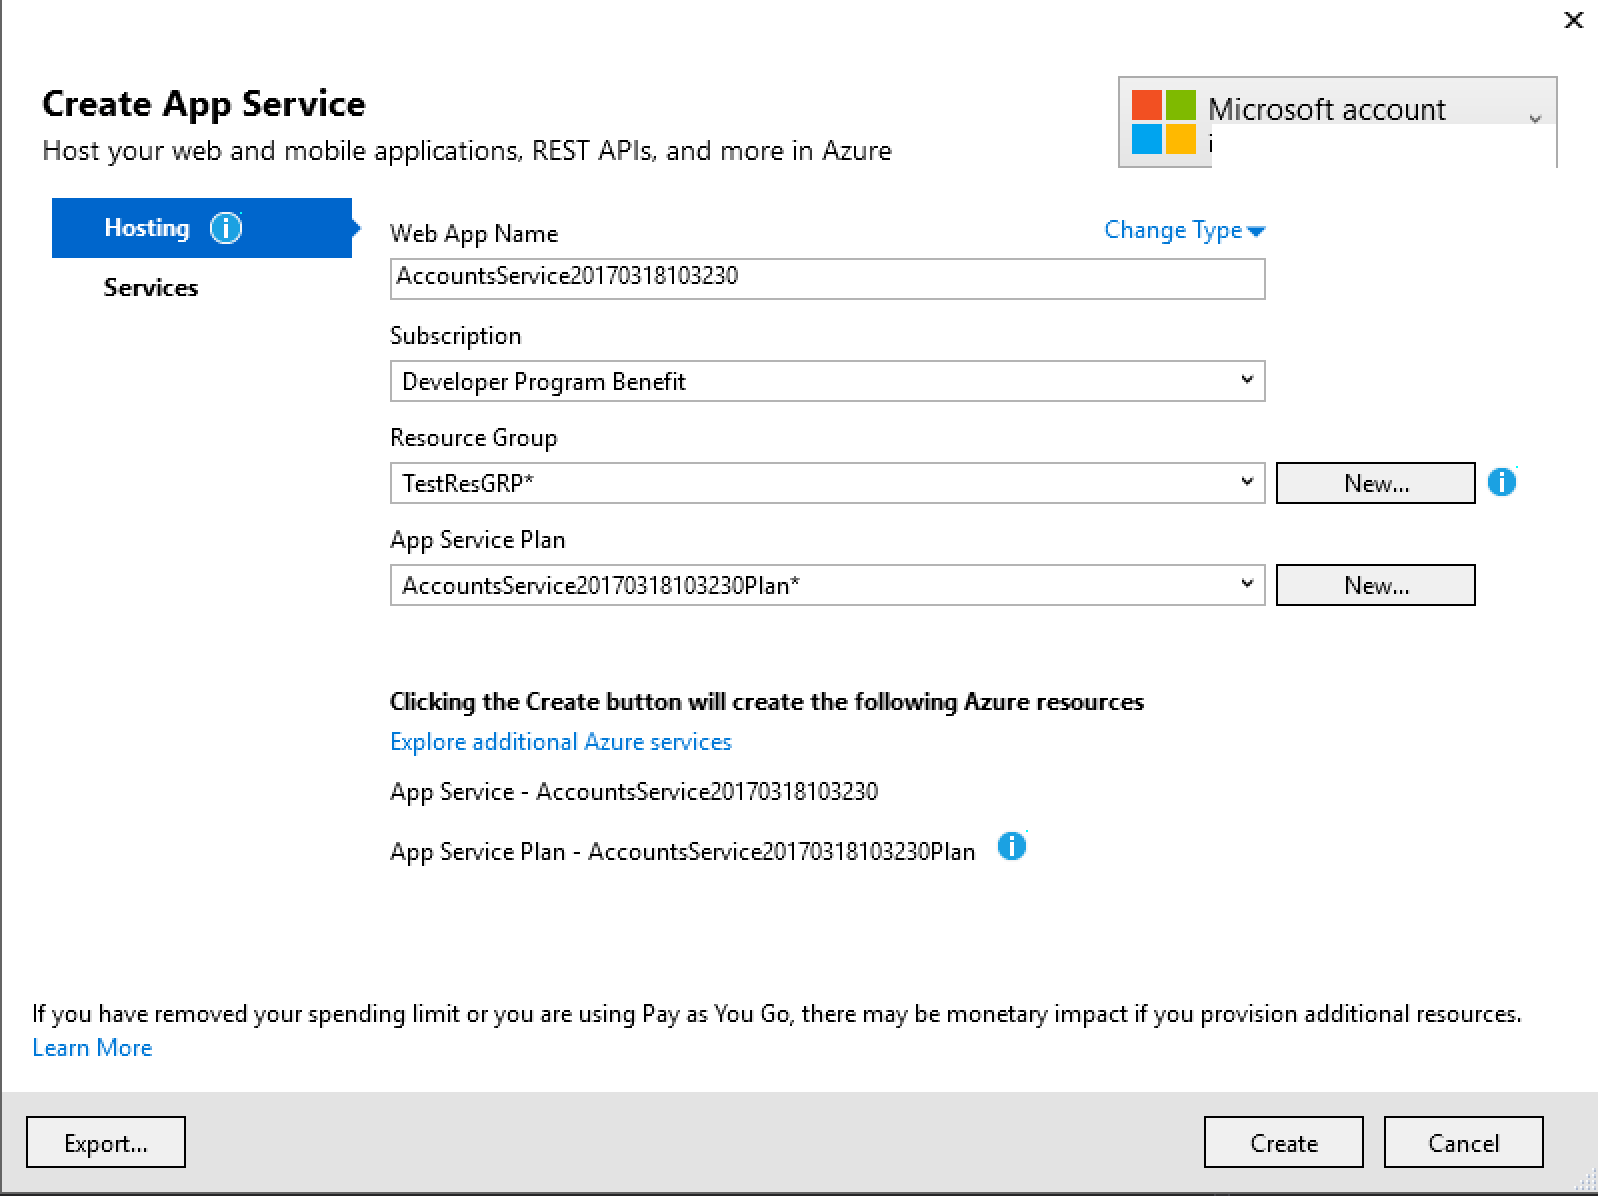
Figure 16 – Create App Service
Once the application is published, by default you should see a browser with the azure website URL. Also, in the Visual Studio Publish window, you should see the summary details as show in the figure 17.
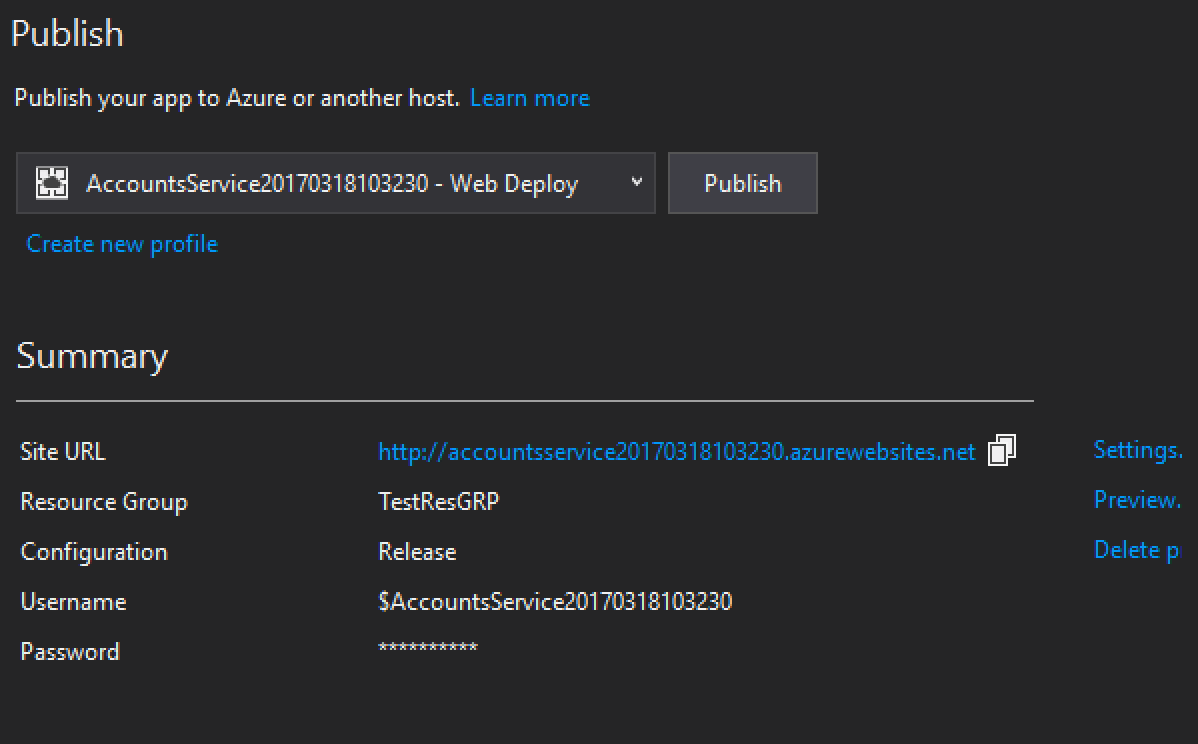
Figure 17 – Publish Summary
You should see your service now available to browse and I have appended api/accounts to URL to check the response and I see the GET request got successful. We can try other requests too to verify.
 Figure 18 – Service deployed
Let us check our app service by logging into the Azure portal and I could see App Service and the accounts service got created as shown in figure 19. Ok, we are good with our deployment and now we want to check if Swagger UI is enabled in the same service. So let us remove api/accounts in the URL and just append /swagger in the URL to verify if swagger is enabled.
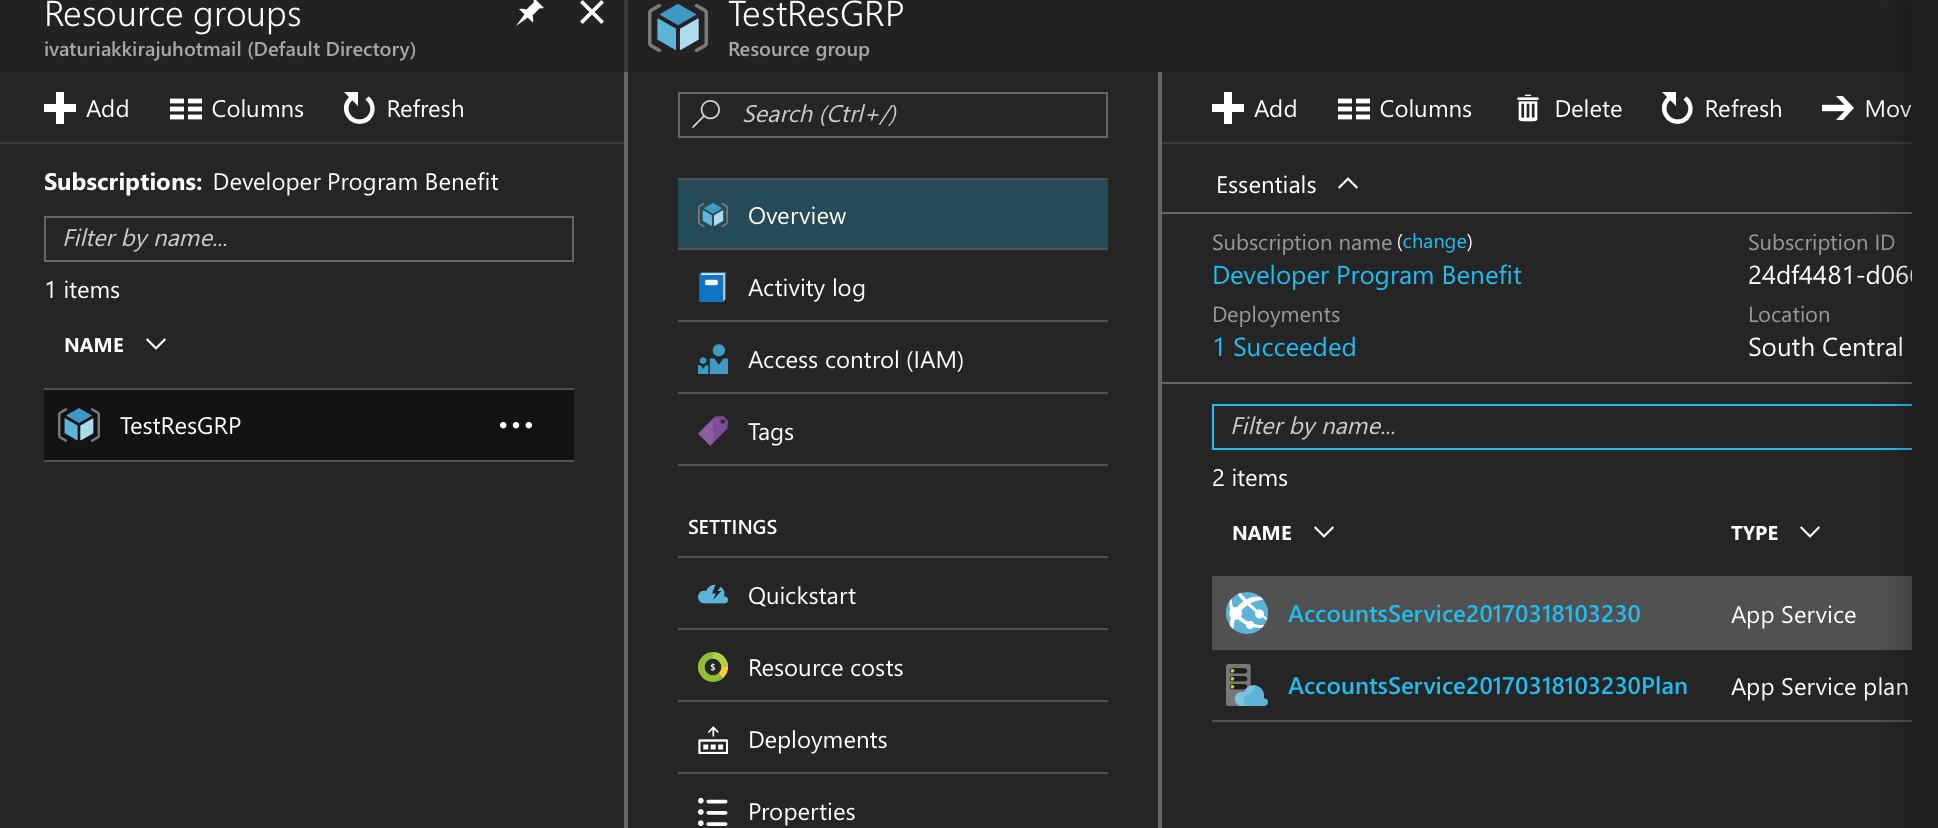
Figure 19 – Azure Portal
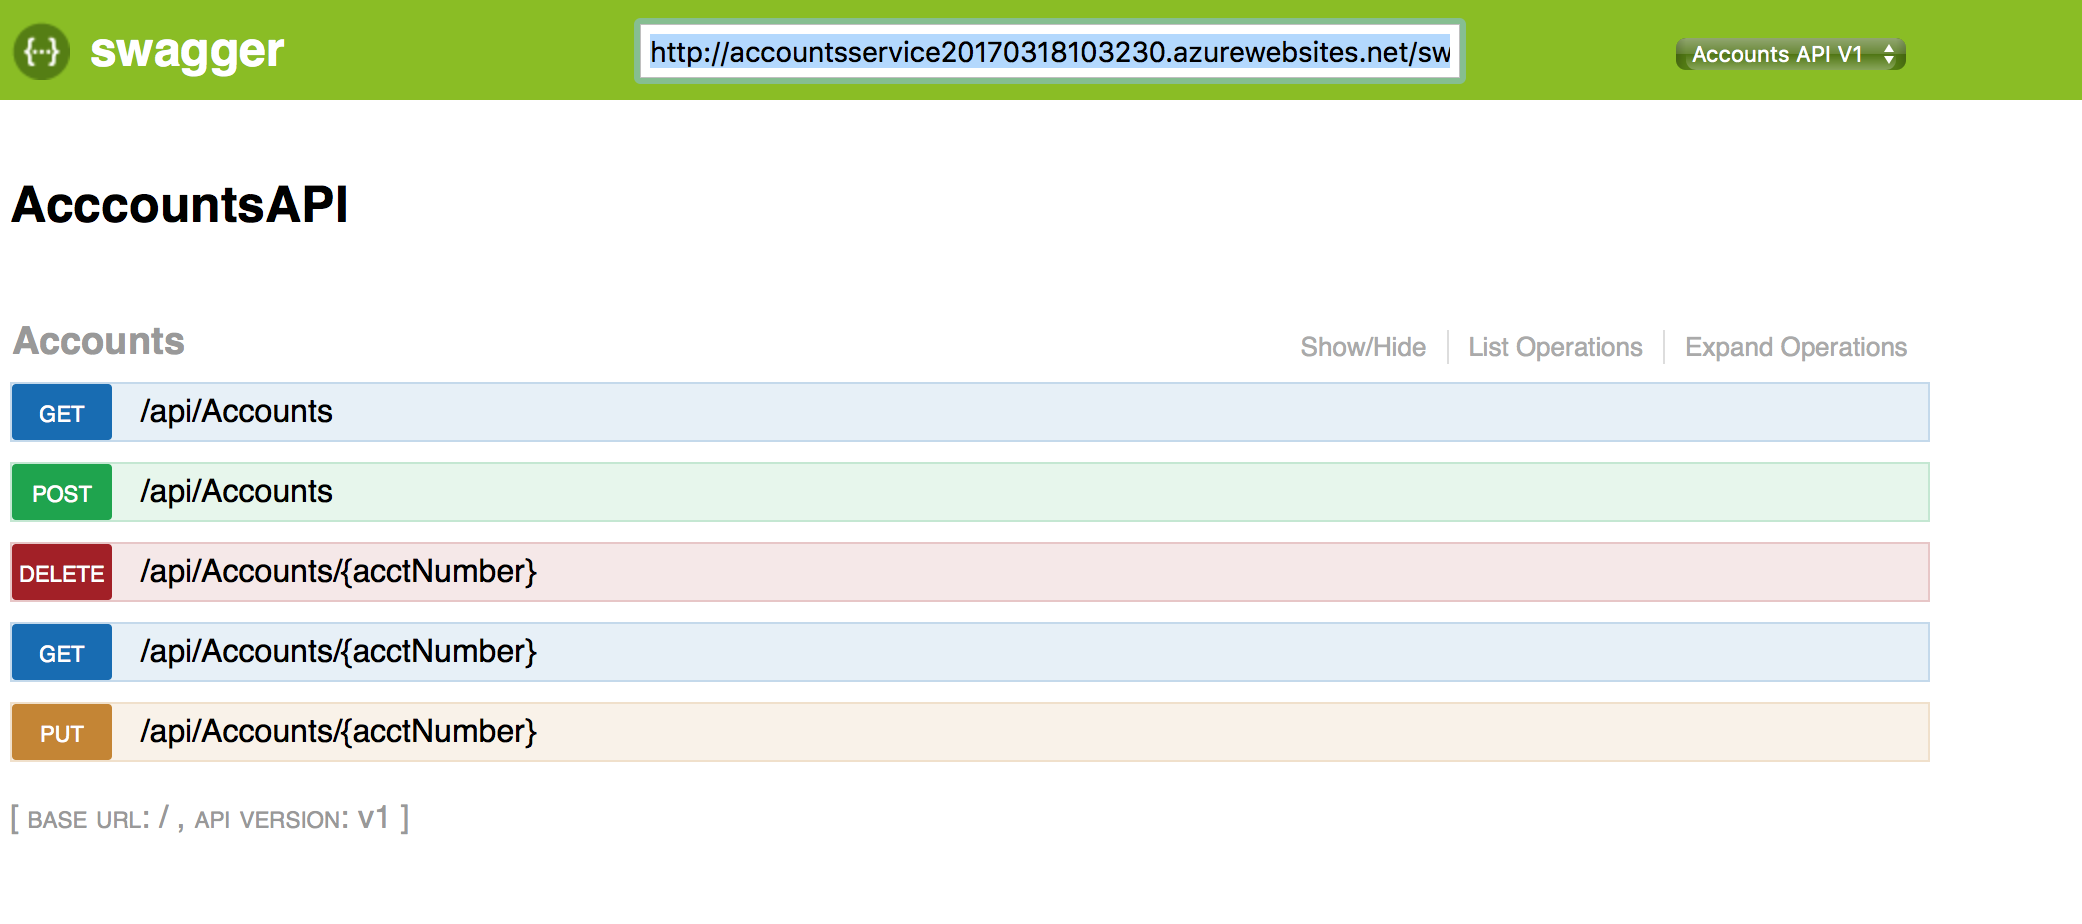 Figure 20 – Swagger UI for the app deployed in AZURE
So, we are good with our deployment to Azure and verified the deployment. Now, it is time to expose our service operations through Azure API Management. This helps in securing our service from the outside world by defining the policies to access the service and restricting number of requests per period based on their subscription. Also, we can hide the actual service behind the proxy or gateway created by API Management.