
In my previous article, I have discussed about NoSQL and how is it different from traditional database. In this article, I would be discussing on how to set up or install the MongoDB in your computer. So follow along with me on this journey.
Go to www.mongodb.com/download-center and you will be presented with a downloads page with different versions of MongoDB with categories like “Enterprise Server” and “Community Server”. Since Community server is free, I am going to download that. So, select the “Community Server” tab and select “Windows” tab if your are downloading on Windows machine or select “OSX” for Mac.
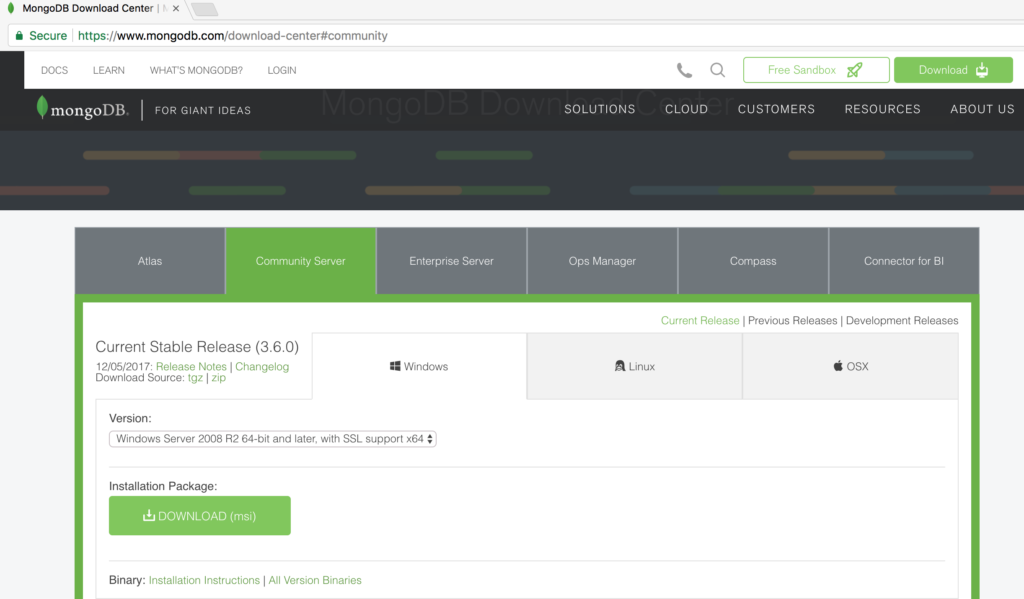
Figure 1 – Download link
Click on the “Download (msi)” button and click on the “Run” button when you see the prompt.
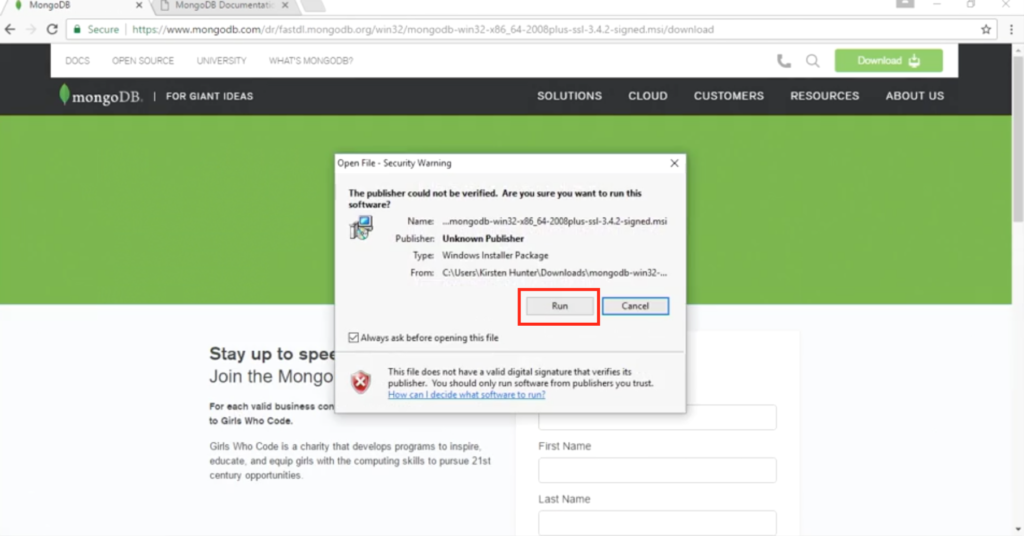
Figure 2 – Running the exe
Click “Next” and choose Setup Type as “Complete“. Click button “Next” till the installation is successful.
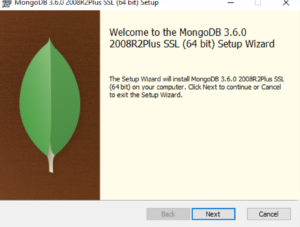
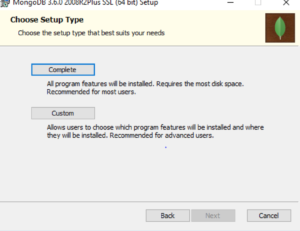
Figure 3 – Choosing Complete Setup type
Once the installation is successful you should see the files copied in the “Program Files/MongoDB/Server/3.6/bin” folder as below:
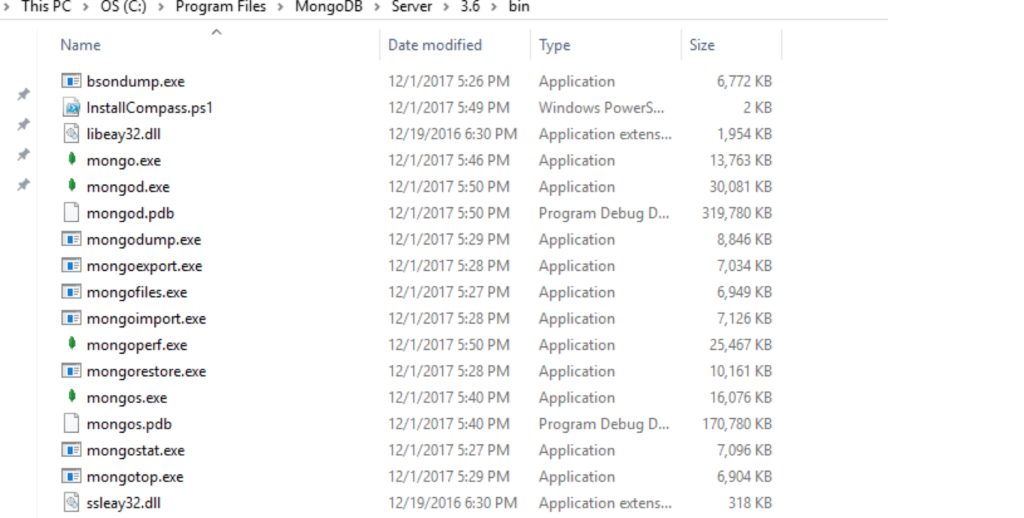
Figure 4 – Installation files
Now copy the bin folder path as below (Right click on “bin” and select “Copy address“):

Figure 5 – Copy address bin path
Now go to “Environment Variables” of your computer and edit the “Path” and add the bin path copied in the above step and click “OK“.
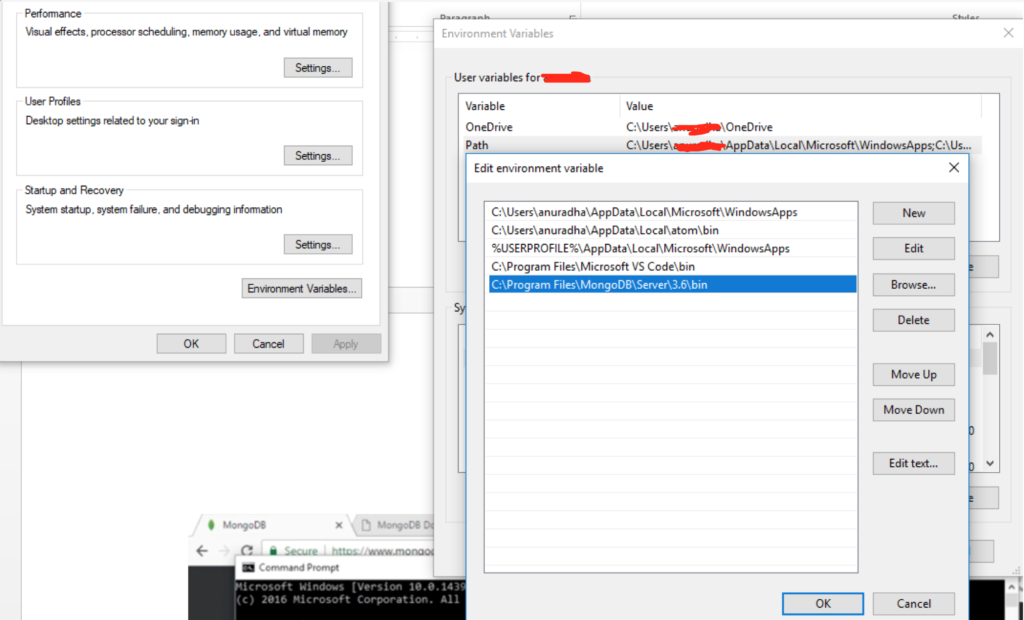
Figure 6 – Add bin folder to the path
Once this is completed, open command prompt and go to C:\Users\<your name> and then create a directory with a name “data” and then create folder “db” in the directory “data“. The data will be stored in this directory for MongoDB.

Figure 7 – Create directory “data\db” and start mongo.
Now at the command prompt type mongod and you should see the following message “Waiting for connections on port 27017“.
![]()
Figure 8 – Waiting for connections message
“mongod” is the daemon process for MongoDB that runs the server.
Now open another command prompt and type “mongo” and you should see Mongo DB shell loading and connecting to the Mongo DB as below:
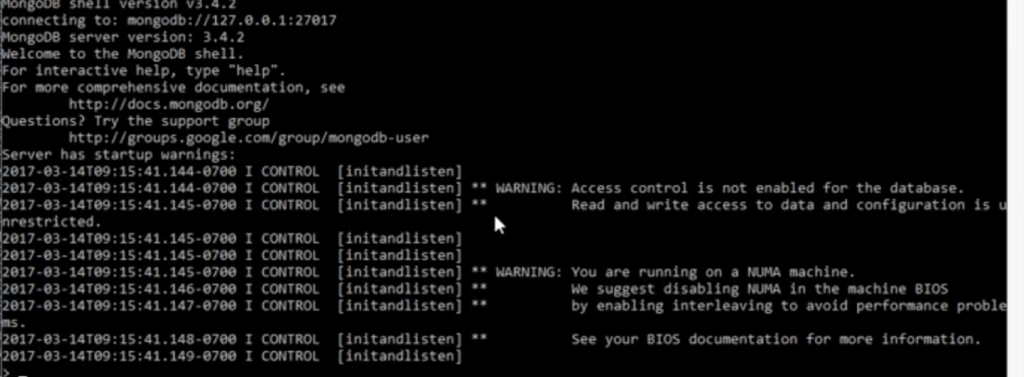
Figure 9 – Mongo Shell
To test the installation you can type “show dbs” and it will list the available databases that come up with the MongoDB installation.
If you are working on Mac:
You can install the Mongo DB in Mac by downloading the tgz file in the downloads page.
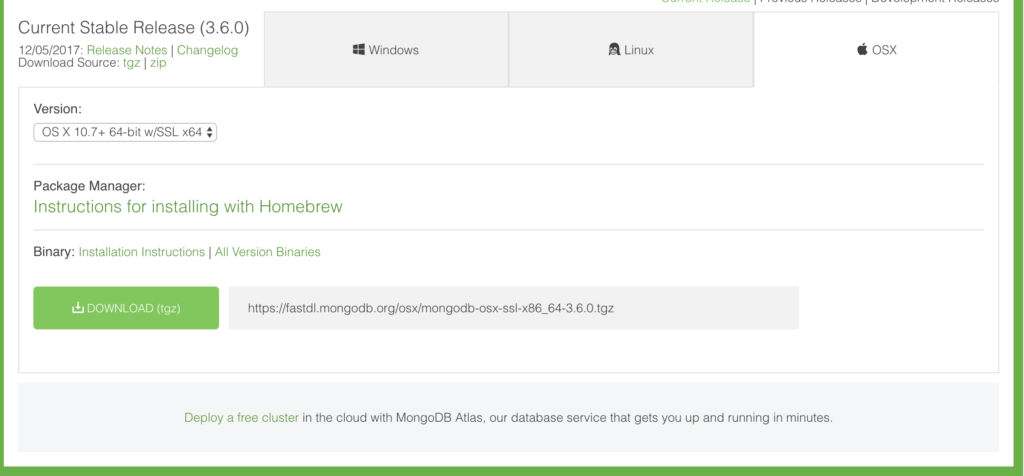
Figure 10 – Download in Mac
Extract the files in the downloaded location and open terminal and go to location of the extracted folder.
$ cd downloads/
$ cd mongodb-osx-x86_64-3.6.0/
$ cd bin
$ ls
lists all the files in the folder bin
Now copy all the files from bin folder to /usr/local/bin as below:
$ sudo cp * /usr/local/bin
It will ask for password and enter the password.
Now create a directory /data/db as below:
$ sudo mkdir -p /data/db
Give access to the data/db folder to the user by executing the following additional commands:
$ sudo chmod 777 /data
$ sudo chmod 777 /data/db
Once these steps are completed, open another terminal window and type “mongod” to start the daemon and then open another window and type “mongo” to start the mongo shell.
Type “show dbs” and it should list out all the databases available.
> show dbs
admin 0.000GB
config 0.000GB
local 0.000GB
test 0.000GB
Congratulations on your installation as a first step in the journey of working on Mongo DB!!!